8 Critical Details That Decide the Success or Failure of Your Tensile Testing
I. Introduction: It’s Not the Machine—It’s the Details You Overlooked
When using a tensile testing machine, one of the most common and frustrating issues technicians encounter is unexpected sample breakage. Whether the break occurs near the grips, at a non-central point, or with inconsistent force values, the result is often a set of unusable, non-repeatable data.
You’ve probably tried switching materials, recalibrating the machine, or adjusting the software—yet the problem persists. In reality, the real cause is often not the machine, but the overlooked setup and preparation details. For flexible materials like rubber, plastic, and film, tensile testing is highly sensitive to sample preparation, grip configuration, and speed settings.
To get accurate tensile strength and elongation results, you need to control the entire testing environment. In this article, we’ll break down 8 critical details that determine whether your tensile testing machine delivers valid results—or just broken samples.

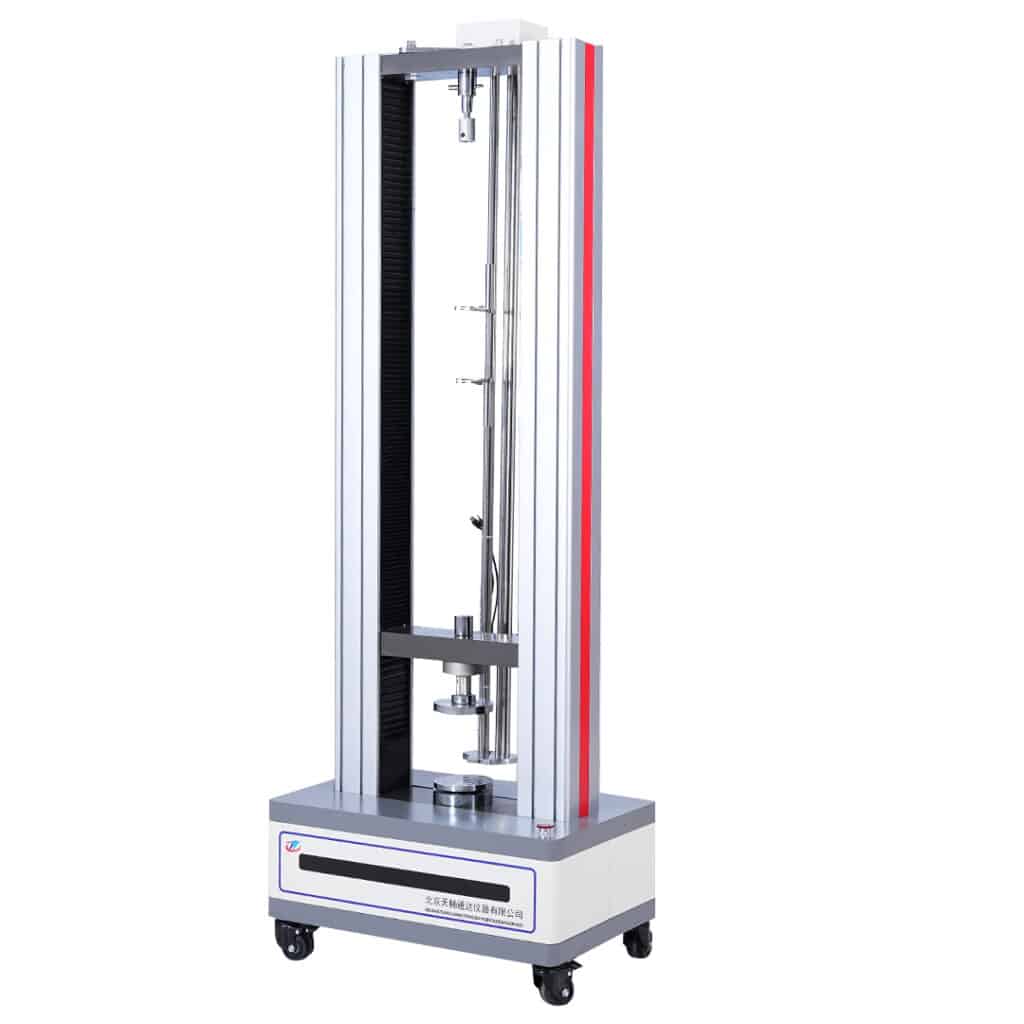
Tensile Testing Machine
Designed for tensile testing of rubber, plastic, and film materials, with accurate stress-strain analysis capabilities.
View Product DetailsIII. Not All Breaks Are Valid—Sometimes It Means Your Test Failed
Many engineers assume that as long as the sample breaks, the test is complete. That’s a major misconception. What we really want is a valid break location, a consistent failure mode, and reproducible force and strain data.
Here are some typical failure patterns that indicate testing errors:
- Break near grips: Often caused by incorrect grip pressure or off-center placement;
- Diagonal or jagged tear: Usually due to excessive speed or poor sample cutting;
- Premature break before set displacement: Caused by internal flaws or uneven loading;
- Inconsistent data across multiple samples: Likely from variations in sample prep, grip pressure, or system settings.
Unless your sample breaks at the center with consistent data, your test likely needs to be reviewed.
IV. 8 Details That Determine Whether Your Tensile Testing Machine Performs Correctly
✅ 1. Grip Type and Material Compatibility
Each material needs specific grips. Rubber and film require pneumatic or serrated grips to avoid slippage or shearing.
✅ 2. Standardized Sample Dimensions
Use dumbbell-shaped specimens with standard width and thickness. Irregular samples introduce stress concentration and unreliable breaks.
✅ 3. Smooth Edges
Burrs or jagged edges lead to unpredictable tearing. Use a fine cutting tool and polish edges when needed.
✅ 4. Correct Clamping Force
Too loose, the sample slips; too tight, it crushes or cracks. Adjust grip pressure based on material type, thickness, and stiffness.
✅ 5. Proper Test Speed
Speed directly affects elongation and failure behavior. Rubber typically requires 500 mm/min; film ranges from 50 to 200 mm/min. Refer to the appropriate standard.
✅ 6. Stable Temperature and Humidity
Rubber and some plastics are temperature-sensitive. Avoid testing in high-humidity or uncontrolled environments.
✅ 7. Software Settings for Break Detection
Ensure the break detection logic is set correctly—some systems may stop the test prematurely or misrecord break points.
✅ 8. Use of Preload or Pre-stretch
Without a preload, internal stress may influence early-stage performance. Apply a pre-stretch of 10–50 N to stabilize the test.
V. Standard Guidelines and Setup Comparisons
To test correctly, don’t rely on guesswork. Always follow international standards. These are the most relevant:
- 📘 ISO 527: Plastics — Determination of tensile properties
- 📘 ASTM D638 – Standard Test Method for Tensile Properties of Plastics
These documents outline everything: sample shape, gauge length, test speed, grip types, and result evaluation. Skipping them leads to invalid data.
VI. Final Advice: Don’t Let a “Break” Fool You
A broken sample doesn’t mean your test was successful. It often signals that something went wrong—poor gripping, incorrect sample prep, bad settings, or even environmental interference.
Every tensile testing machine has the potential to deliver accurate results. But it’s up to you to apply the right procedures and attention to detail.
Don’t let one faulty break ruin your whole batch of data.